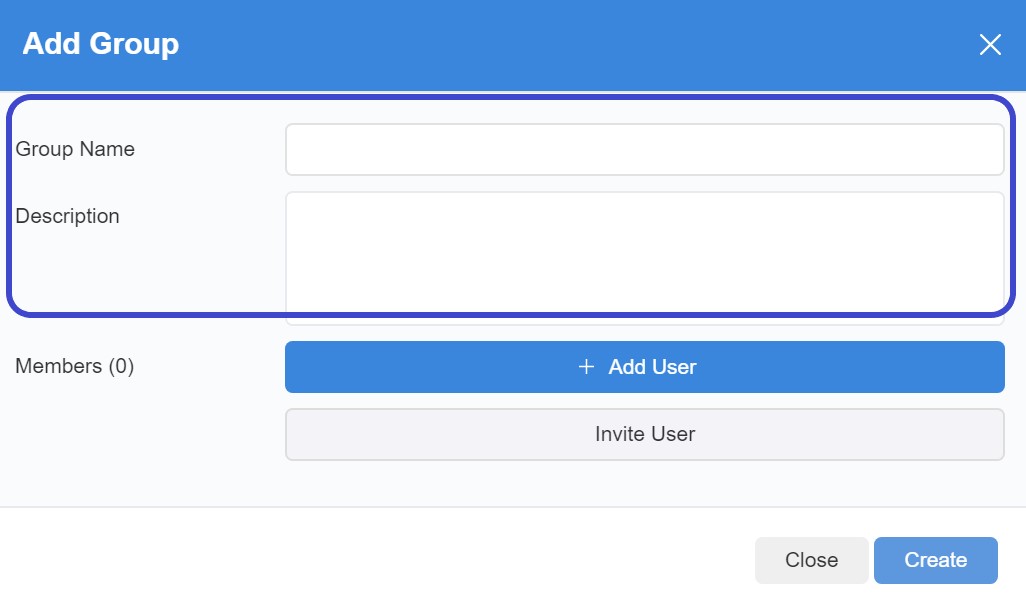
To create a new group, perform the following steps:

2. Add the group name and description of the group in the group settings
3. Add existing users of OC by clicking on the "Add User" button and add the desired user.
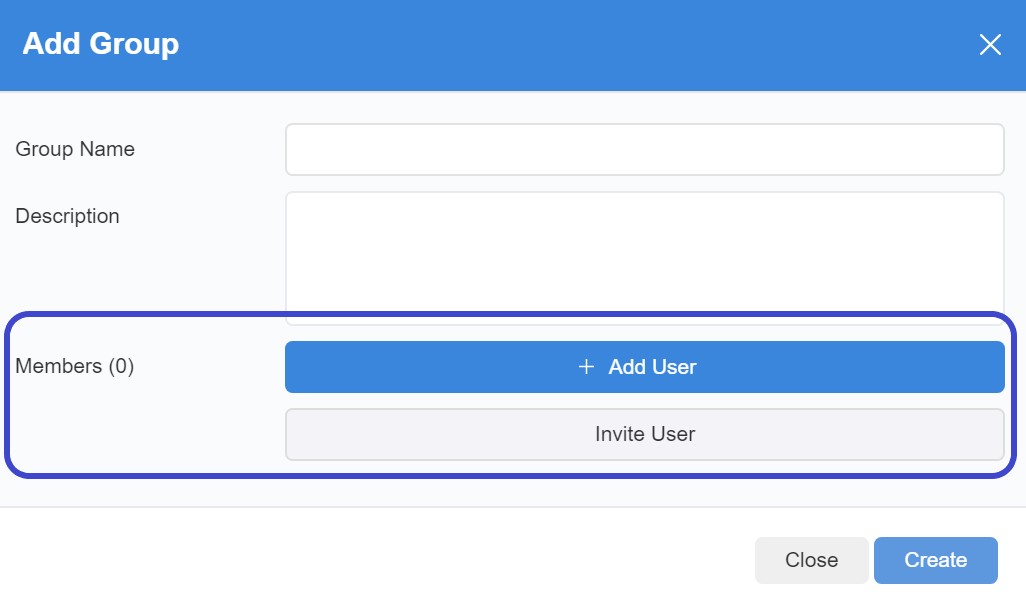
4. You can now assign the user a role for the group or remove him from the group

5. If you want to assign a user, who is not registered on OC, click on "Invite User". The invitation window opens:

1. Enter the contact details of the new user
2. Select the default role of the user (see also chapter Roles+Rights - Assigning users to a new role)
3. Select which groups the new user should be a member of
4. Choose whether verification is required before user activation
5. The new user receives an invitation to join OC
6. Click on create to create the new group
To change or manage a group, the following steps can be taken:
1. Click on the gear of the group to be edited in the left overview bar.

2. The group settings open.
3. In addition to the settings mentioned above, there is also an overview of the boards available in the group.
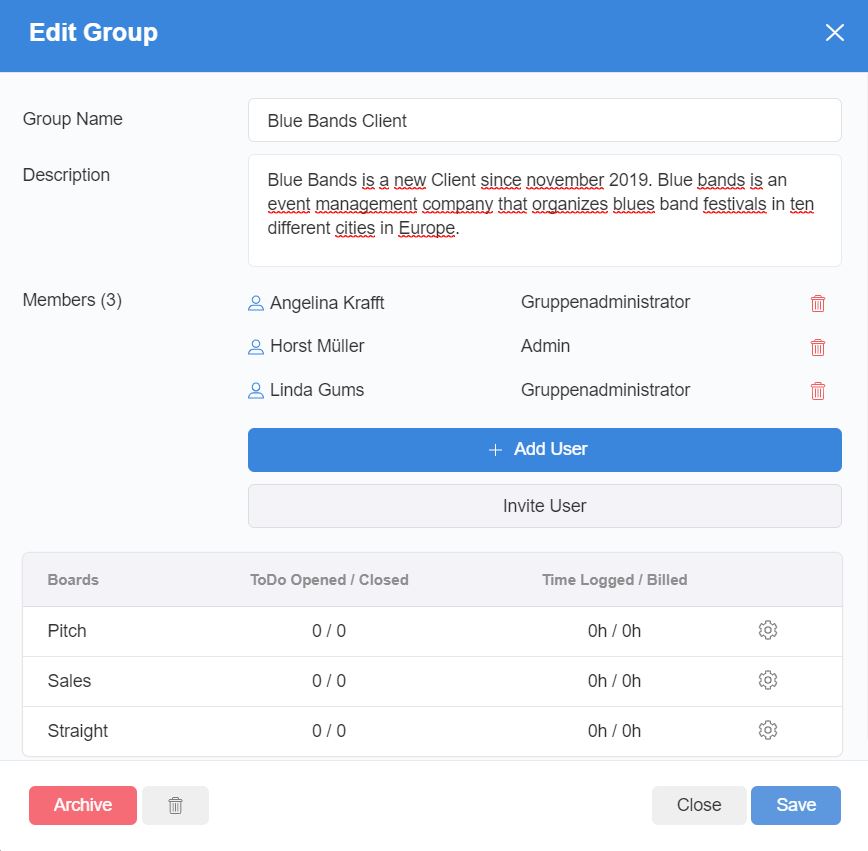
4. Board settings can be made here (see chapter Basic Information - Creating/changing/managing boards)
5. If you want to delete the group, click on the trashcan icon
6. If you want to archive the group, click on the Archive button
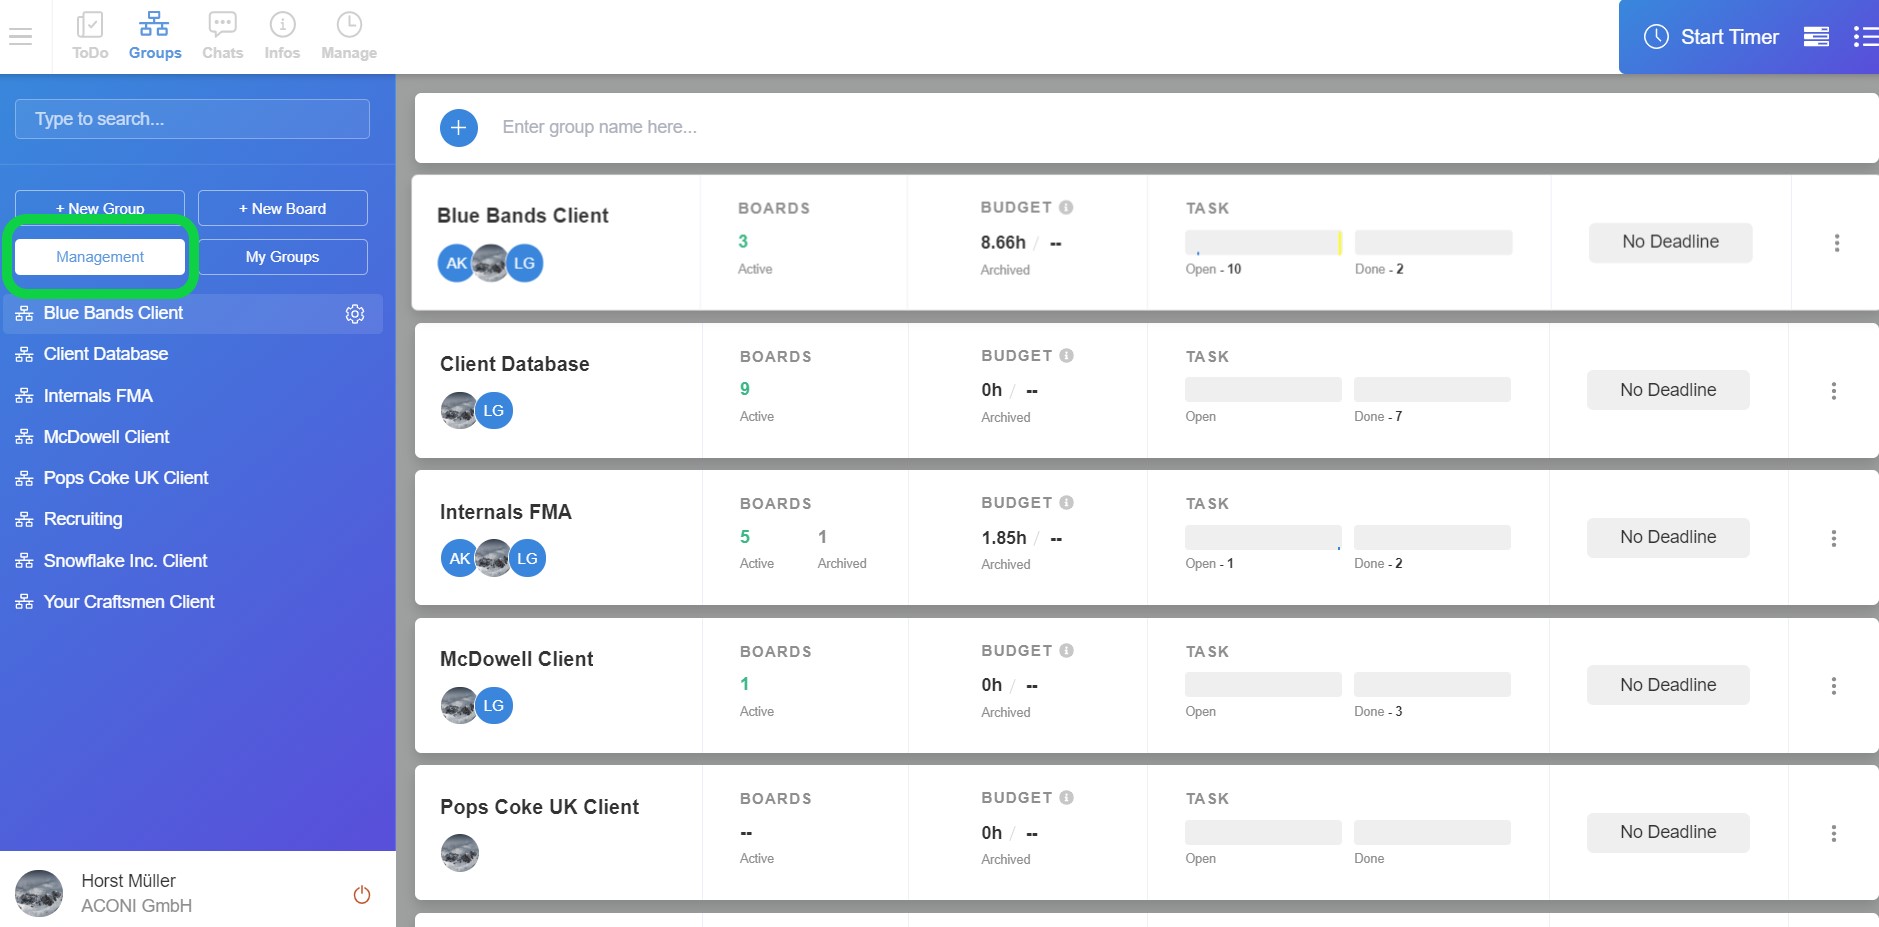
Another way to get to group management is by clicking on the Groups icon in the top left menu bar and then selecting "Management". Here you can add new groups as well as manage existing groups.